Setting Up the Water Tank for a Non-Plumbed Refrigerator
 Please Note: The information on this page is for Australian products only. Models, sequences or settings will vary depending on location and/or where the product had been purchased. To be redirected to your local support page please click here.
It’s easy to start entertaining with freshly made ice and chilled water. Follow the steps below to see how to setup the water tank of your non-plumbed fridge.
The water tank in your non-plumbed fridge creates chilled water and ice. Here's how to prepare it for the first time. The location of your water tank may vary depending on your model, but most fridges are one of two types.
Note that the water tank location may be different to the dispenser location.
Please be advised that this guide applies to Samsung Refrigerators with a non-plumbed water and ice dispenser. If you have a fridge with autofill, Click Here to learn more about the Autofill Water Jug.
*For first-time use, clean the inner side of the water tank and dry well.
CAUTION:
- The water dispenser is designed to dispense potable water. Fill the water tank only with potable water only. Do not fill with any other liquids.
- Do not fill the water tank excessively, as it may cause an overflow.
- Do not try to fill the water tank without removing it from the door.
- Make sure that the water tank is secured properly.
- Do not use the refrigerator without the water tank. This may reduce performance and efficiency.
- To prevent water bouncing, make sure the glass is in line with the dispenser lever.
Type 1 - Central Tank
This tank is usually in the middle of the bottom section/shelf inside your fridge.

CAUTION: Do not exceed the the max line, as water will overflow.
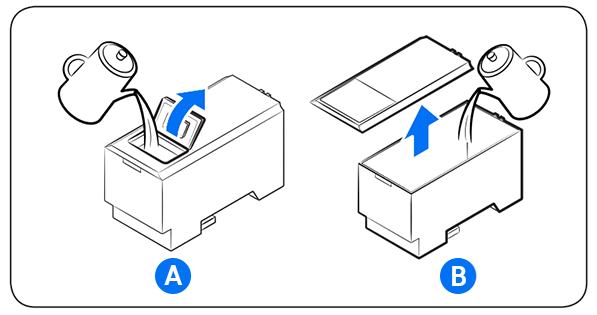
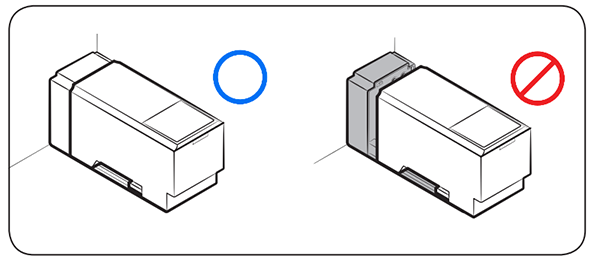
Push the dispenser lever for 10 seconds to emit air from the hoses of the water supply system.
Discard the first six glasses of water to remove impurities.
Type 2 - Door Tank
This tank is located in either the left or right door of your fridge.
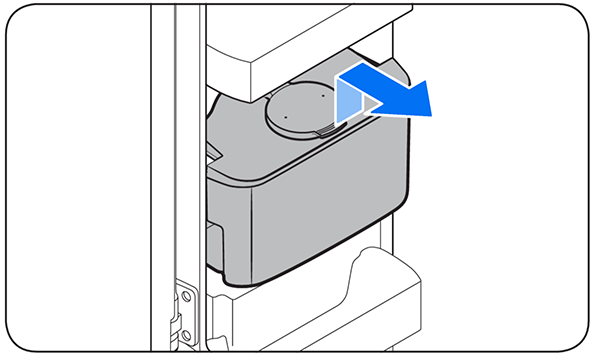
*For first-time use, clean inside the water tank.
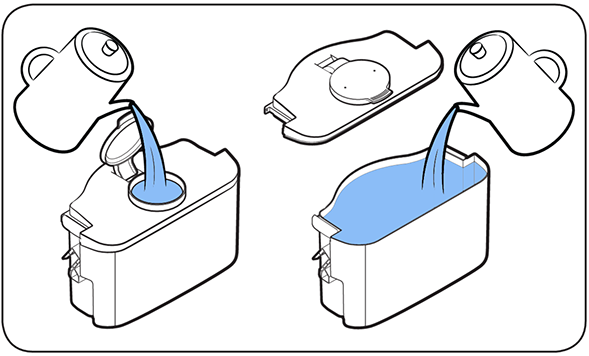
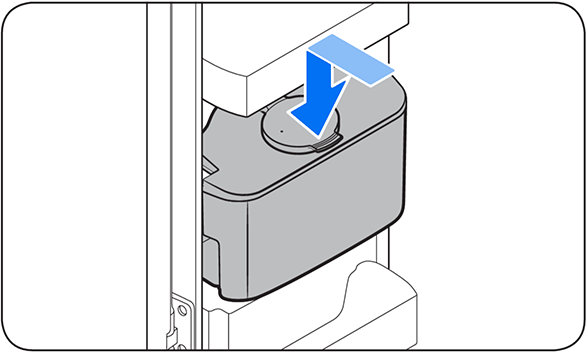
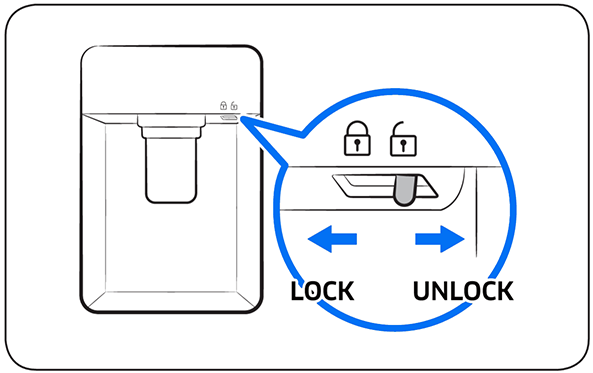
Type 3 - Beverage Centre
This tank is generally located in the centre of the main fridge, at the bottom between the Flex Crisper drawers. You can add drinking water to make ice. Regularly check and fill the water tank as it is the water source for the AutoFill pitcher and the ice maker.
Not all Beverage Centre models will have a water tank. Please consult your User Manual for more specific information.
CAUTION!
- Fill the tank only with potable water such as mineral or purified water. Do not use other liquid.
- Full water tank is heavy and therefore, use caution when moving a filled tank. Physical injury may occur if the tank is dropped.
- After the initial installation, the water tank must be filled to supply water to the AutoFill pitcher.
Filling the Water Tank
*For first-time use, clean the inside of the water tank and dry well.


CAUTION!
Do not exceed the max fill line, or water will overflow.
Turn on the ice maker on the main panel if you wish to start making ice. Ice that is made will be stored in the freezer's ice bucket.

Note:
- Even if the water tank is full, ice will not be made unless the Ice Maker is turned on.
- The pump that sends water to the Ice Maker may make noise if the water tank is empty. Turn off the Ice Maker to avoid this.
- There may be noise for about 5 seconds when sending water to the Ice Maker. This is normal.
CAUTION!
- Do not put water directly in the ice bucket to freeze it. There is a risk of damage.
- Empty the water tank when not in use.
- When the Refrigerator recovers power after a power failure, the ice bucket may contain a mix of melted and jammed ice cubes, which can prevent the ice maker from working properly. To prevent this, make sure to empty the ice bucket before using the refrigerator.
- Do not put fingers or any objects into the ice maker. This can cause physical injury or property damage.
Cleaning & Maintenance
Clean the water tank every one or two weeks. Be sure to detach every component part including the cover and the Nozzle (A).
Completely empty the water tank before cleaning with clean water. Dry out the tank for later use.


CAUTION!
Do not leave the water tank with moisture inside before refilling with water. Otherwise, the tank may have impurities built up inside over time.
For further assistance, please contact our Chat Support . To find your Samsung product's User Manual, head to Manuals & Downloads.

Thank you for your feedback!
Please answer all questions.
Contact Info
Contact us
WhatsApp
![]()
![]()

